What UV direct print prep covers
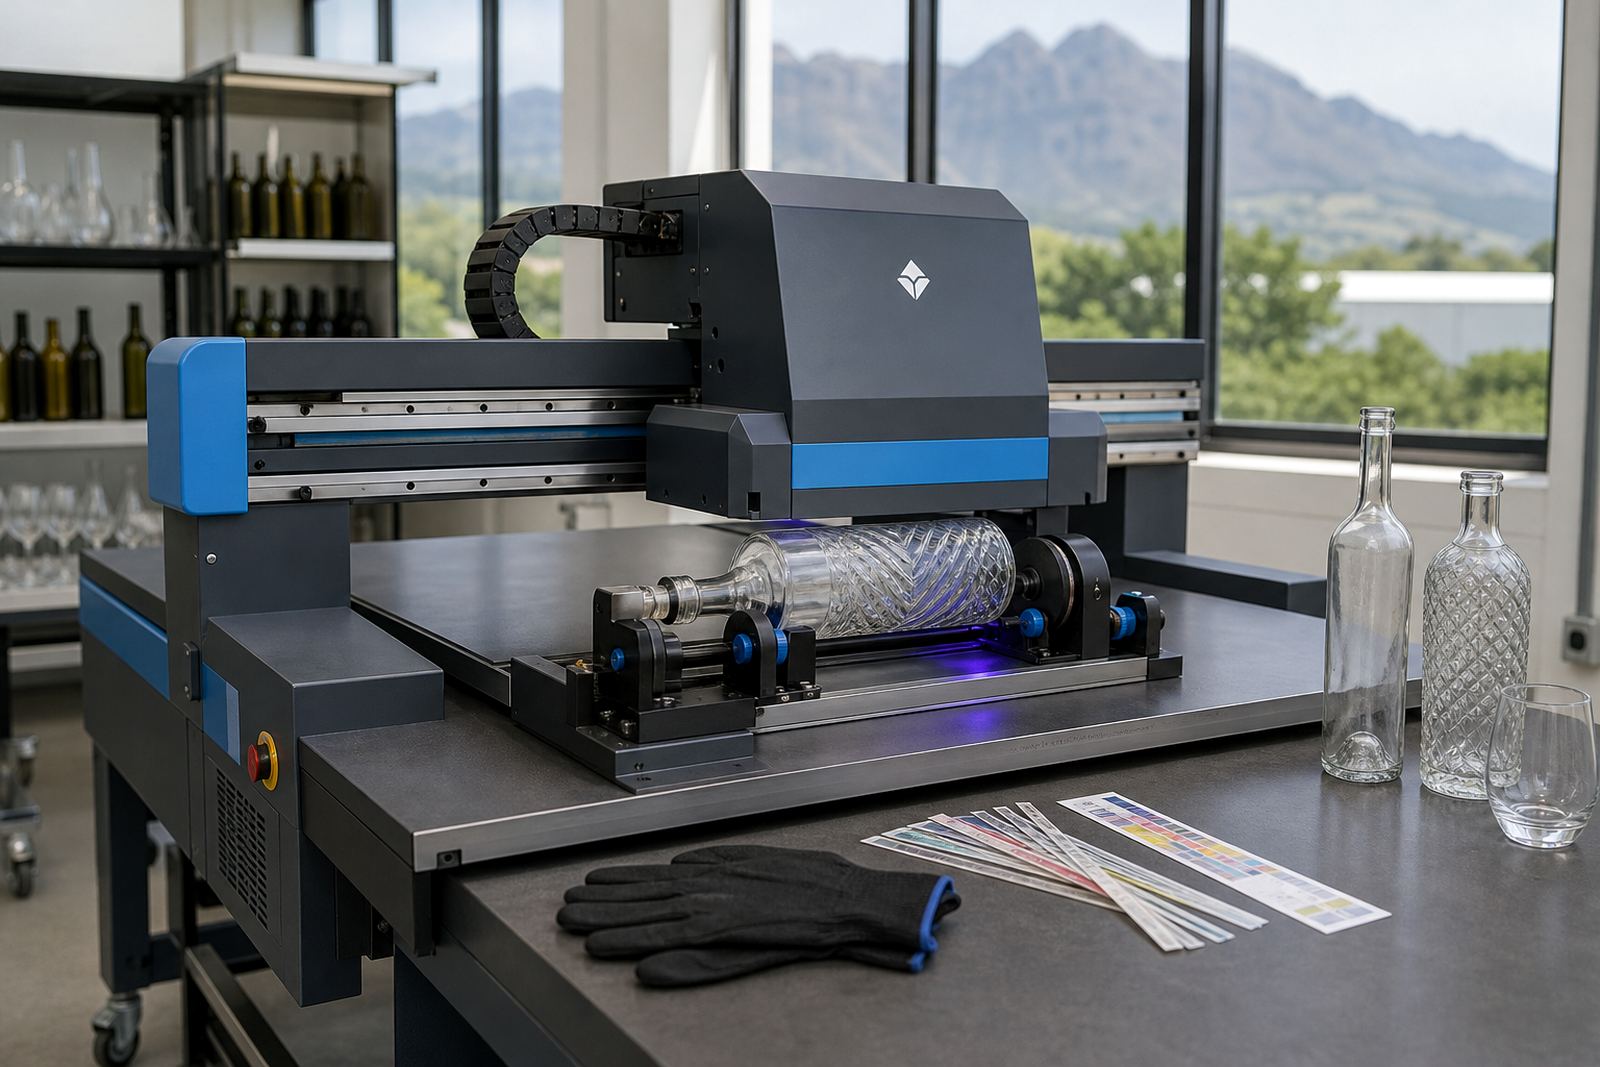
UV direct print prep starts with the bottle or drinkware itself. We check the shape, shoulder, neck and label panel so the artwork lands where it should, not where the curve forces it. On clear or coloured glass, that means deciding whether the logo sits front facing, wraps part way round, or repeats across a set of bottles for an event table.
The prep stage also looks at adhesion. Glass, coated surfaces and some drinkware finishes need different handling before ink goes down. We check the print area for mould release, dust, handling marks and any coating that could affect bond. If white ink is needed under a logo or fine type, that is planned here as well so the colours hold their shape and do not sink into the glass.
Bottle and drinkware types we set for UV print
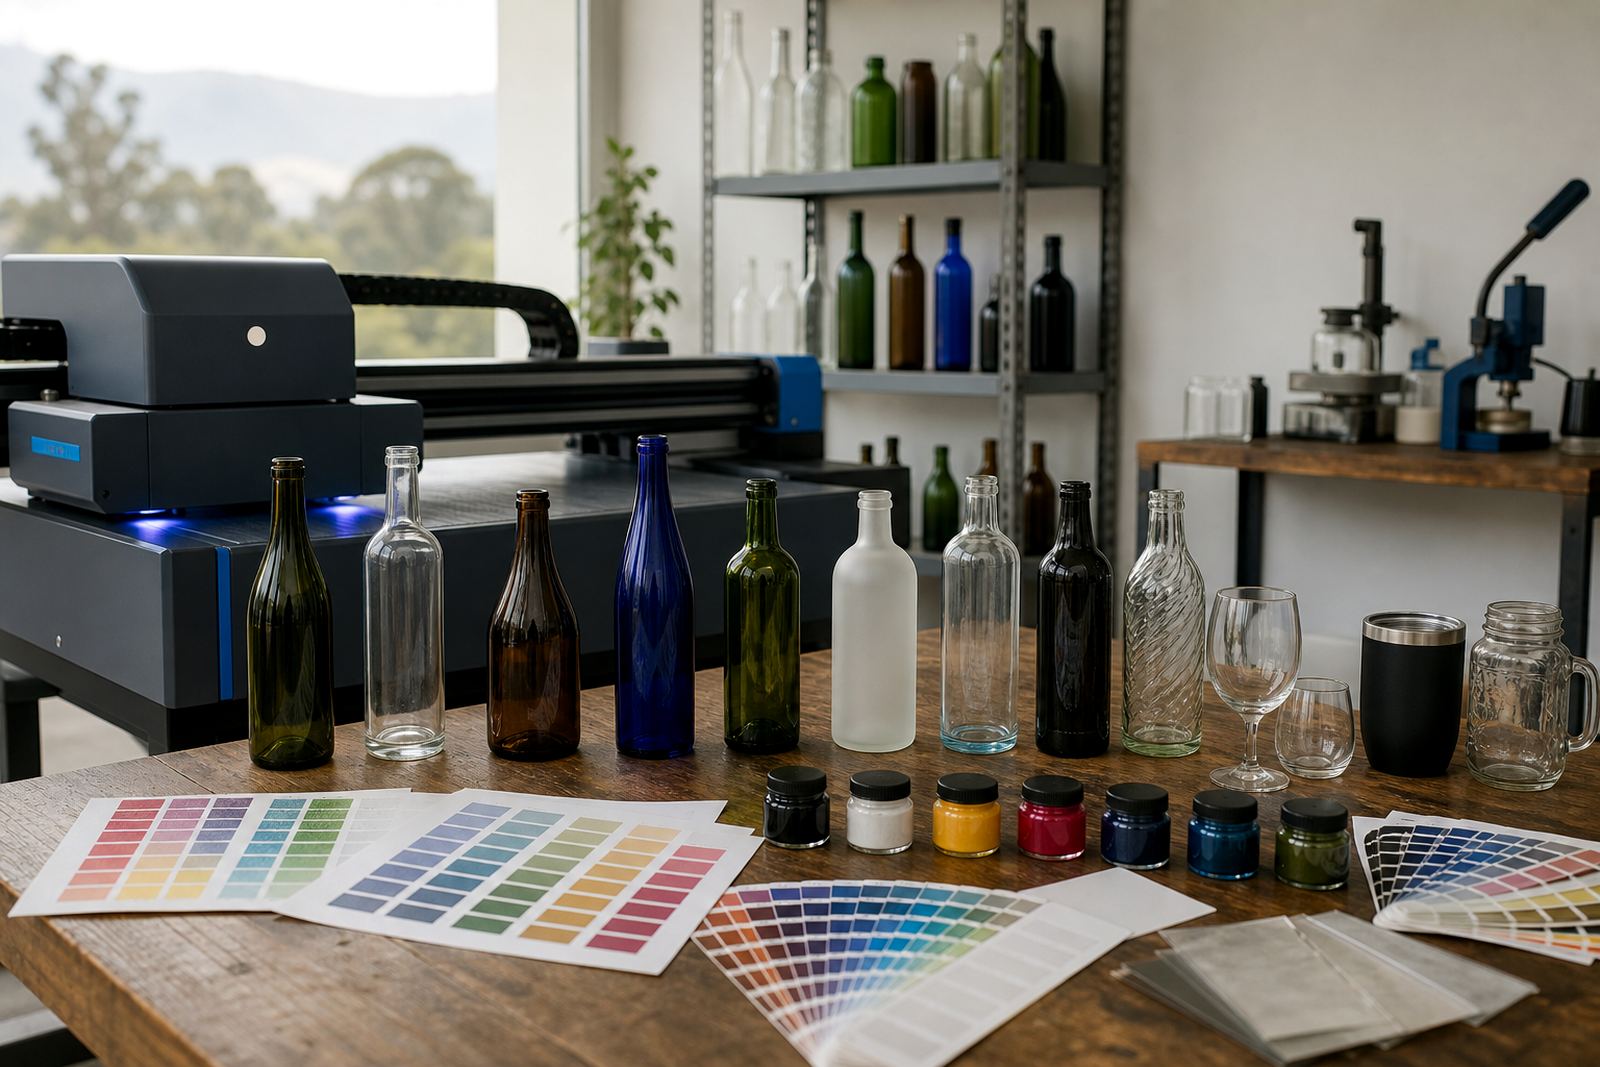
UV direct print works well on many wine bottles, gin bottles and still water bottles, provided the shape and finish suit the method. It also suits selected drinkware such as stemless glasses, tumblers and some reusable cups with a print-ready surface. We assess each item on its own because a tall Bordeaux bottle, a heavy gin bottle and a slim water bottle each need a different artwork spread.
- Clear glass bottles for wine, gin and still water
- Coloured or frosted bottles where contrast matters
- Stemless glasses and tasting glasses
- Tumblers and reusable drinkware with suitable coatings
- Short run event pieces where a neat front panel matters more than a full wrap
If a surface is too curved, too narrow or too soft for the artwork you want, we flag that early and adjust the layout rather than forcing a print that will sit badly on the bottle.
Artwork checks before the first print
Artwork prep is where most of the paper work happens, though the result shows up on glass. We check line weight, small type, artwork bleed, placed logos and the spacing around necks, shoulders and bases. Thin lettering can disappear on a dark bottle if the file is not set with enough strength, so the layout is reviewed for visibility at the final size.
- File size and artwork placement are checked against the bottle template
- Colour use is reviewed for glass, white ink and transparent areas
- Small text is checked for readability at print size
- Positioning marks are set for front label, wrap or repeated panel layouts
- Mock-up visuals show how the bottle will read from a distance
Where needed, we prepare the artwork for white underprint, spot colour layers or a cleaner single-colour logo. That helps avoid banding, weak edges and uneven coverage on curved surfaces.
Proofs, samples and sign-off
Before a production run starts, we send a proof so the layout can be checked against the actual bottle shape. For short runs this step matters even more, because there is less room to hide a layout error across hundreds of units. The proof shows artwork position, orientation, print area and any white ink layer needed under the design.
If the job needs a sample bottle or a visual mock-up, that is set up during prep so the final print reflects the approved arrangement. We do not move straight into a run when the logo sits too high, the neck wraps too far, or the text looks cramped. Those details are corrected first, then the print set-up is locked in for production.
Short run setup and print planning
Short runs need a tighter plan than bulk bottle work. The set-up has to suit the quantity, bottle type and artwork, while keeping the cost sensible for wineries, distilleries and event organisers. A small batch for a launch table will not be handled the same way as a seasonal corporate gift order packed for delivery across South Africa.
- Minimum runs are guided by bottle type and decoration method
- Print areas are mapped for one panel or multiple panel layouts
- White ink coverage is planned for dark glass or tinted artwork
- Orientation marks are set so the artwork lands in the same place on each bottle
- Packing notes are added when items need carton protection or mixed delivery labels
We also look at finish. A matte bottle, glossy bottle or textured glass surface can change how the print reads, so the prep stage is where those choices are balanced against the final look.
Turnaround, pricing approach and aftercare
Turnaround is shaped by artwork readiness, bottle supply, run size and the print method selected. When the artwork is clean and the bottle range is confirmed, the prep work moves faster than a job that still needs layout adjustments. Pricing follows the setup needed for the specific bottle, the number of print positions and whether white ink, mock-ups or extra proofing is part of the brief.
Aftercare is practical. Freshly printed bottles should be handled with clean hands, kept away from abrasive packing and allowed to cure fully before use or filling. For printed drinkware, avoid harsh scrubbing and strong chemicals that can mark the ink or finish. If bottles are packed for delivery, we can add brief handling notes so the team at the venue or cellar knows how to store them properly.
Key facts
| Method | UV direct print prep for glass and selected drinkware |
|---|---|
| Bottle types | Wine bottles, gin bottles, still water bottles |
| Drinkware | Stemless glasses, tasting glasses, tumblers, reusable cups |
| Artwork support | Orientation checks, white ink layers, mock-up visuals, proof approval |
| Run size | Short runs and small batch production planning |
| Base | Paarl, Cape Winelands with delivery across South Africa |